Table of Contents
- Rationale and Specification
- Showcase
- Description of Features
- Database and Models
- Views and Templates
- Conclusion
- Resources
Rationale and Specification
Using Django as a framework, I developed a simple website with the main functionality revolving around keeping members of my high school's Key Club updated and involved on any device. I wanted a way to eliminate the paper "sign-up sheets" the club was using and instead create a digital process. Specifically, I wanted to replicate how members could sign up for specific timed shifts in a electronic format.
Simply put, my overall goals were to:
- Keep users updated
- Keep users involved
- Create an electronic "sign-up sheet"
- Add shifts for users to sign up for in each event
- Incorporate user accounts
- Work on desktop and mobile devices (responsive)
In this post, I will mainly focus on how I structured my database so that I could achieve the shifts functionality.
Showcase
Description of Features
At the core, the website is essentially a blog. However, it also includes an added twist of functionality. Since this was a beginner project into web development, it was good for me to start with something simple, but still have something that would challenge me.
Updates Description
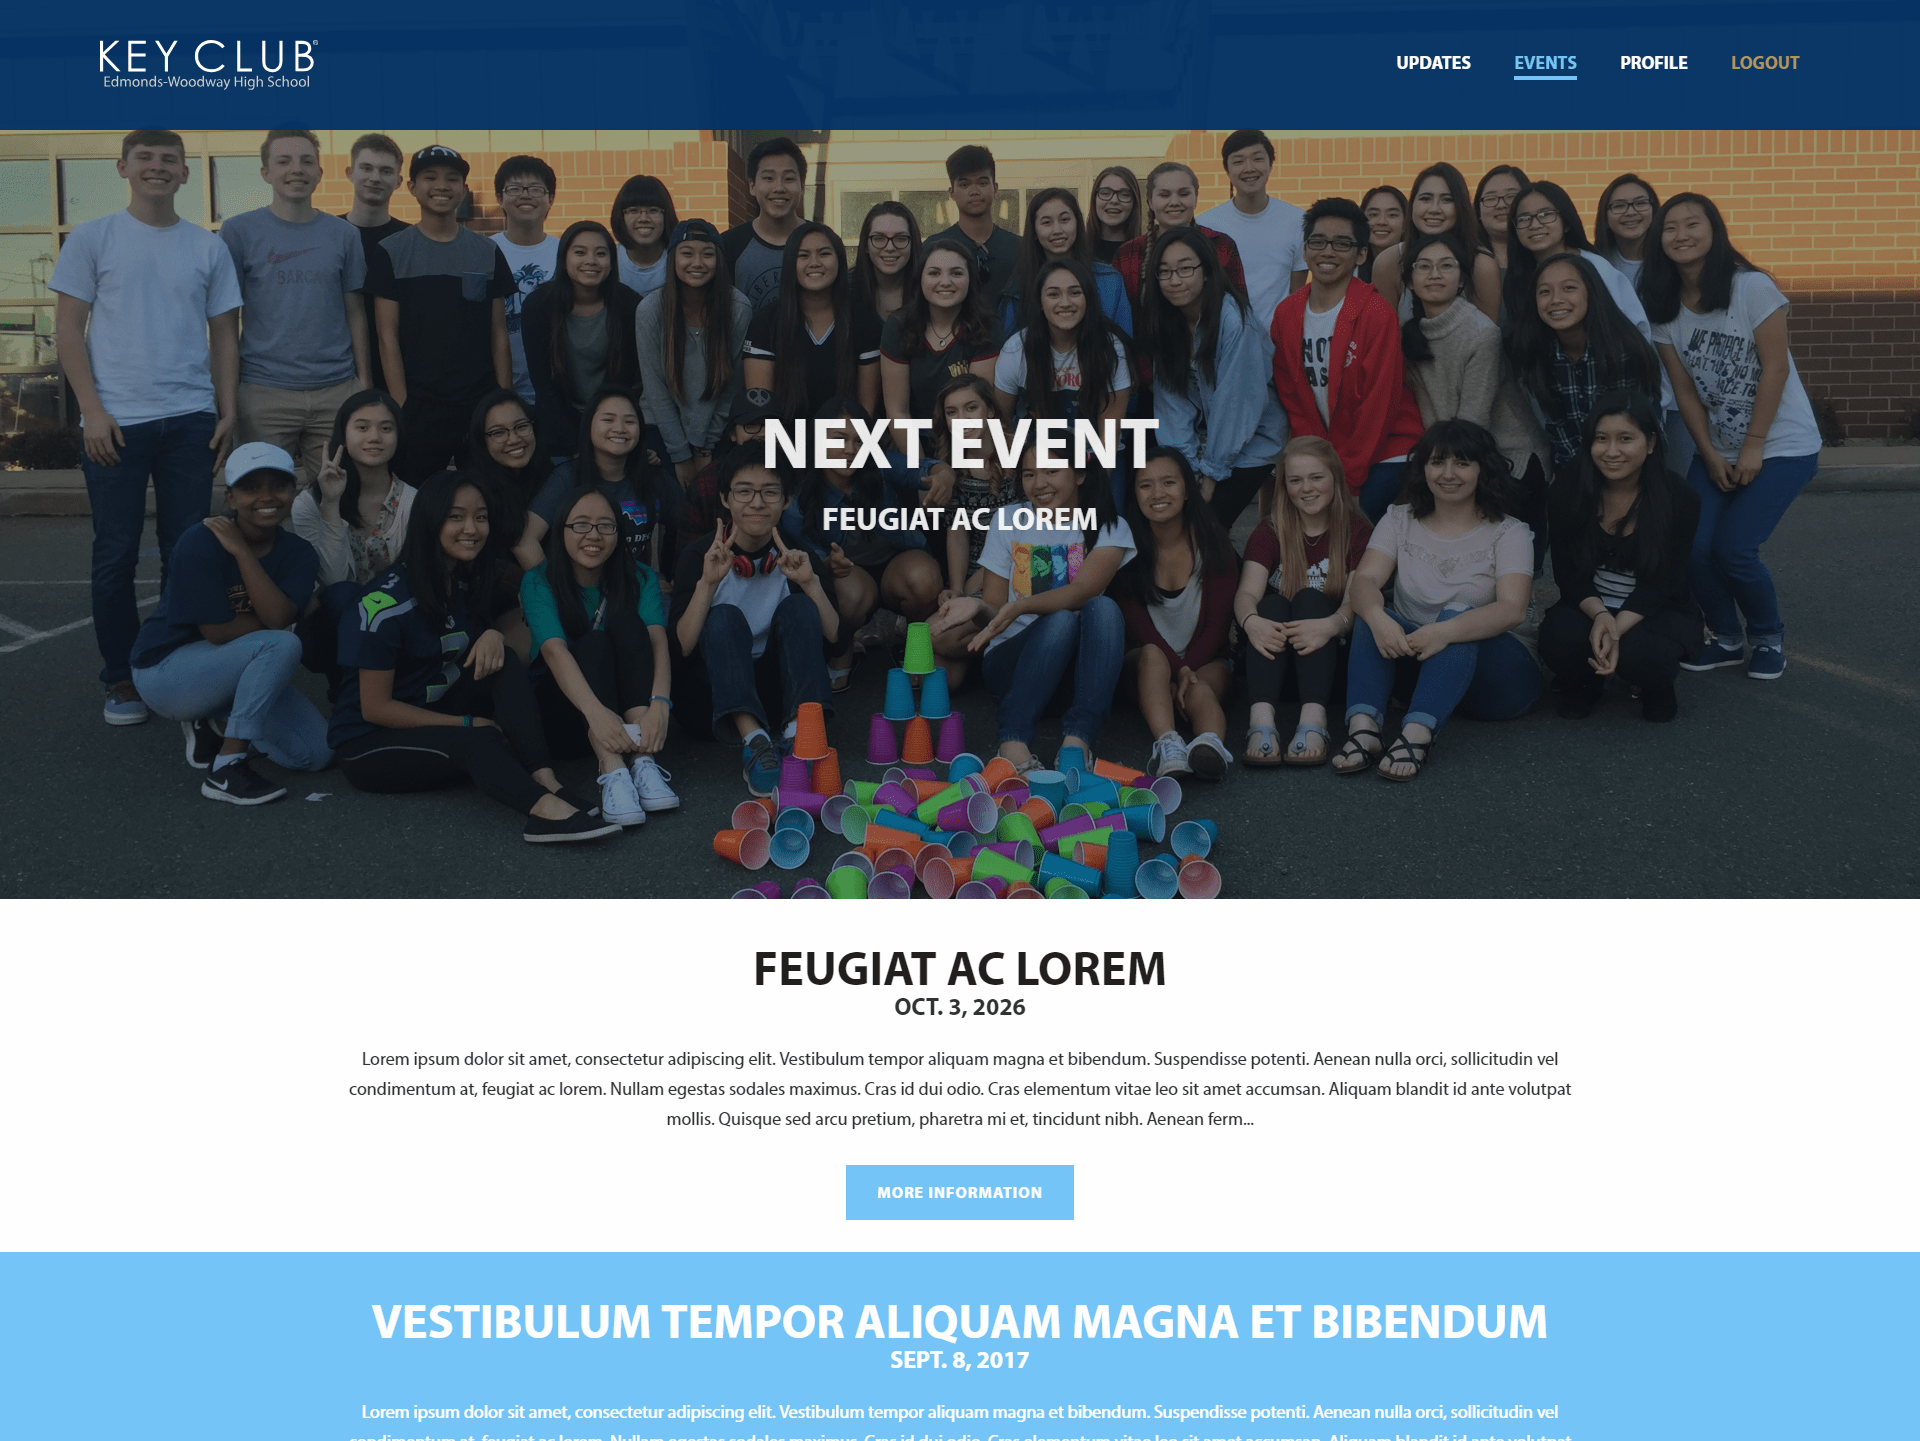
With the updates section, it consisted of an "index" page showing all the different update posts in the database and a "detail" page where it would display the posts and its content.
Events Description
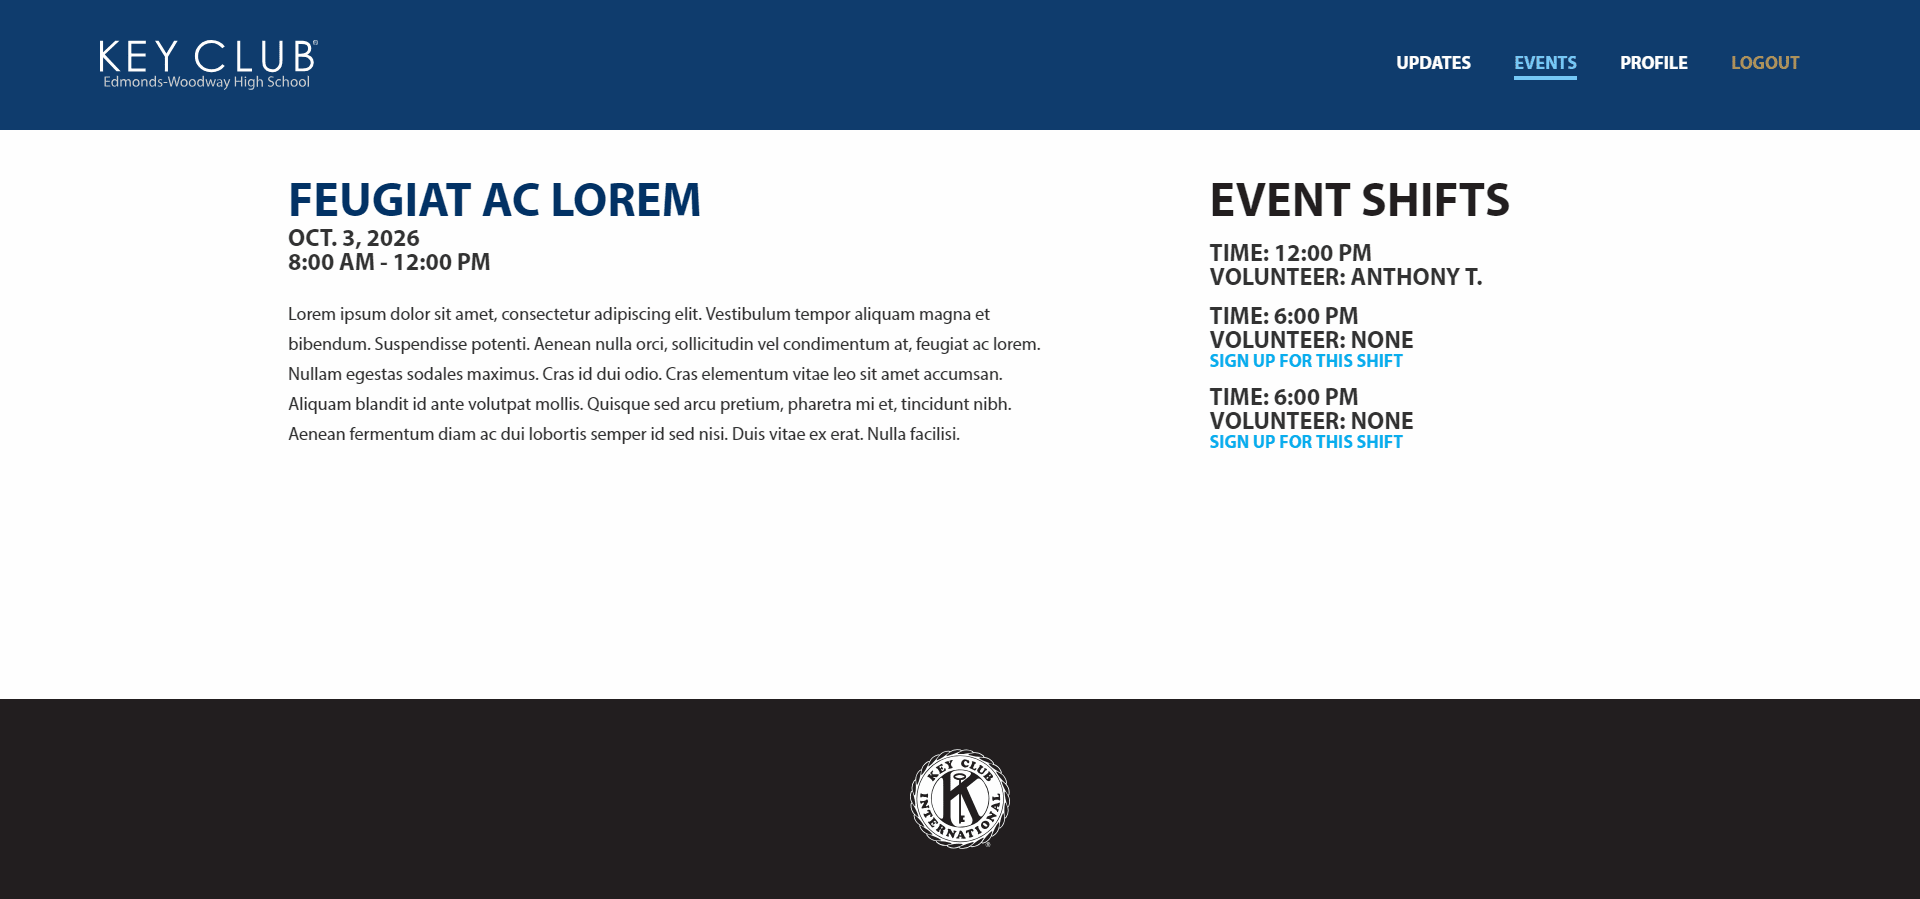
The events section also included this blog functionality. Unique to the events, however, was that it allowed users to sign up for specific shifts. To keep track of the members of the club, I used the user authentication bundled with Django. This made it easier for me to focus on other aspects of the project while having Django deal with the user authentication aspect.
Database and Models
Event Model
First I created a model for the event posts which included the essential fields like the event title, the date, and a description.
class Event(models.Model):
    title =  models.CharField(max_length=200)
    event_date = models.DateField(default=date.today)
    start_time = models.TimeField()
    end_time = models.TimeField()
    description = models.TextField()
    last_edited = models.DateTimeField(auto_now=True)
    published = models.BooleanField(default=False)
Basing this off the model I had created for the updates section, it was fairly easy since the events section was not much different.
Shift Model
The next part was deciding how to represent the shift model in the database. For each shift, it had to keep track of which event it belonged to, the time of the shift, and what user had signed up for it.
class Shift(models.Model):
    event = models.ForeignKey('Event', on_delete=models.CASCADE)
    time = models.TimeField()
    user = models.ForeignKey(User, on_delete=models.CASCADE, null=True, blank=True)
In the shift model, the event field is a foreign key to link the primary key of the event model.
- Primary key:
- a unique identifier
- Foreign key:
- refers to the primary key in another table (in this case, refers to the specific event)
The on_delete field option set to CASCADE make it so that when the object is deleted, it also deletes the references associated with it.
For the user field, I also set it to a foreign key to allow the shift to keep track of which user signed up for that specific shift.
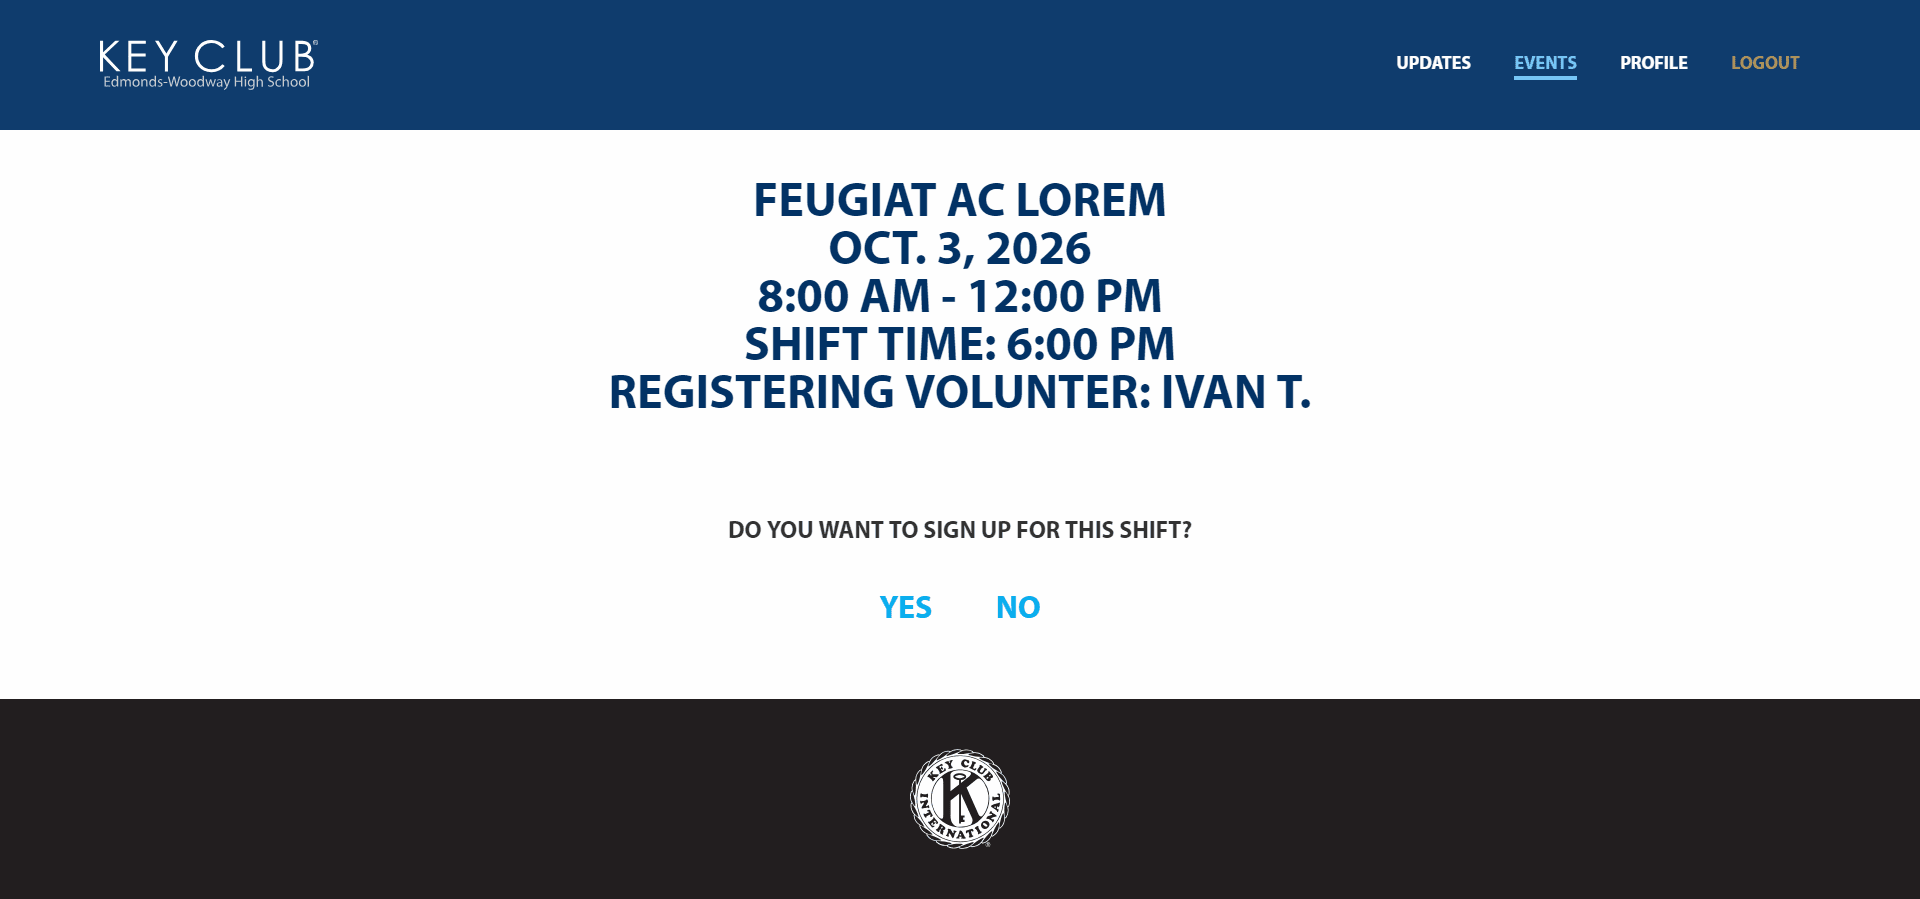
Using foreign keys in the shift model like this, I am able to assign each shift to a specific event and have users assign themselves to a specific shift through a form in Django.
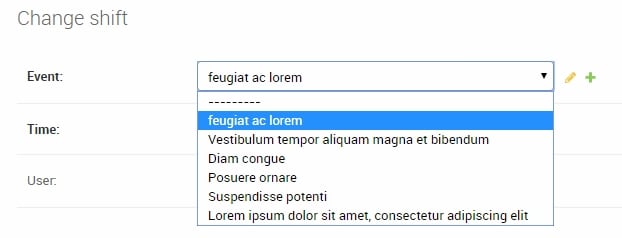
As you can see in the screenshot, a shift can be assigned to a specific event. Since the shift is assigned to the event's primary key like this, I can also display the shifts associated with the specific event in the event's "detail" page.
Views and Templates
Updates Views and Templates
For the updates section, I created the index page where it queried the database for posts with the "published" field set as true. This allowed me to edit posts, but have them unlisted from the actual site. In the template, I used a for loop to iterate through each post in the queryset to create links to go to each post.
To create the "detail" page for a post, I queried the database for a specific post through its primary key. Then, I displayed the post's content in the template.
Events Views and Templates
In the events section, I had the same functionality as the updates, but also incorporated the shift model I had created. In the "detail" page, along with querying for the specific post, I also queried for the shifts associated with that specific post. This allowed me to show the post and its content alongside the shifts for the event. Each shift also had a link to sign up for that specific shift. I put in conditionals where it would check the date of the event and whether someone had already registered for that shift to prevent people from registering for a shift in the past or taking someone else's spot.
Conclusion
Overall, this project was great for me as a beginner since it taught me the basics of Django and showed me the inner-workings of a database. Specifically, it taught me how to create models using different types of fields like primary keys and foreign keys. Using foreign keys, I was able to achieve my goal of creating a digital "sign-up sheet" which kept track of the different shifts and the members who registered to them.